MYINTEGER
This is both for internal and external use. From uploading images to creating promo codes
- How to Upload Images to Your Website
- How To Create A Promo Code via myInteger
- How to Hide A Lunch Course Outside Lunch Hours
How to Upload Images to Your Website
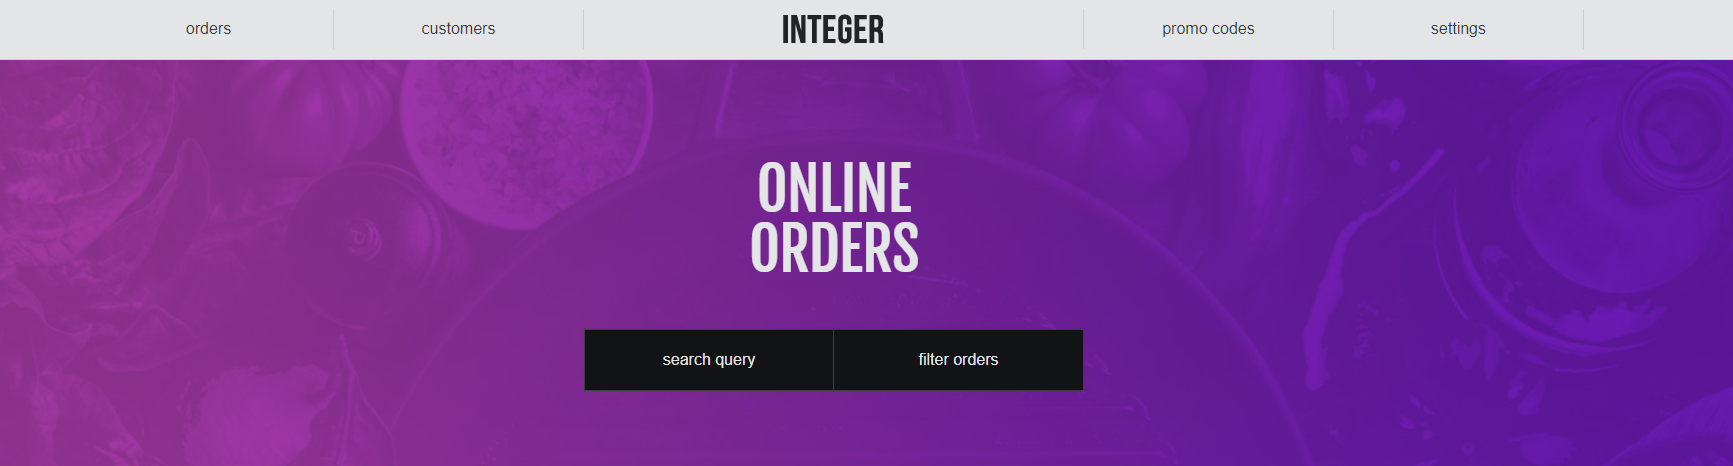
On your browser go to myInteger (https://my2.integer2.co.uk)

Hover over 'Settings'

Click on 'Upload Image'

First select the course of where the item you want upload an image for it located

Secondly select the item itself for example Garlic Bread

Thirdly select the image from your computer

We recommend using Flexxi to resize the images (https://sourceforge.net/projects/flexxi-image-resizer).
This will allow you to crop all your images to the same size at the same time
Resize ALL the images to 1024x768 pixels (8x6 inches)
Make sure your images are .JPG format
Alternatively you can send them over via WeTransfer, be sure that all images are named correctly.
How To Create A Promo Code via myInteger
On your browser go to myInteger (https://my2.integer2.co.uk)

Hover over 'Promo Codes'

Click on 'Add a Code'

You will be brought to this screen.

First enter the code you wish to use for example PIZZA10 or if the code is for a specific customer click 'here' to generate a code.

Below that is 'Restrict Code' will allow you to choose how the code works whether to exclude meal deals or allow full discount.

By default 'Set Time Limit' is set to 'Never Expires' until disabled or you can choose the 'From Date' and 'To Date'.

By default 'Select Your Days' is set to 'Every Day' or you can choose specific days.

Keep 'Filter' option set to 'No Filter' unless you are creating a code for a specific customer and you have their email.

'Use Per Email' allows you to only the customers to use the code a specific amount of times. If the code is for a specific customer then this option is useful.

If you scroll to the top now and on the right you will see 'Minimum Spend'. Here you would enter 500 (£5.00) or 1000 (£10.00) minimum 100 (£1.00).

Choose whether the code is All orders, Collection or Delivery

By default 'App Only?' is set to 'App or Website'

Not only can you choose to discount an amount but also set it to be a 'Free Item'*

*With 'Free Item' select the course and the item itself for example garlic bread.

Choose whether 'Percentage or Fixed Amount'.

Once you have selected one of the above you would enter the percentage or amount. For example 20% just enter 20

'Qualifier' is only for if a required item* is needed in the basket to get the discount.

*With 'Required Items' select the course and the item itself for example Margarita Pizza.

Once you have entered the code etc then click 'Save'

The discount code will then appear in 'Your Codes'

How to Hide A Lunch Course Outside Lunch Hours
Adding the Lunch Course options can be used for only allowing a certain course at set times for example a Lunch menu might only be available 12:00 til 15:00 so before/after the time customers won't be able to order them items
First go to myInteger (my2.integer2.co.uk)
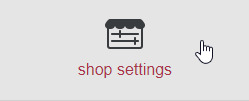
Hover over 'Settings'
![]()
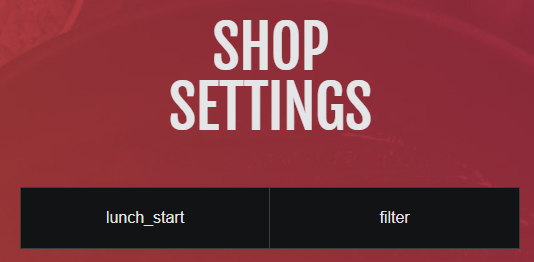
Click on 'Shop Settings'
In search query type in the license number
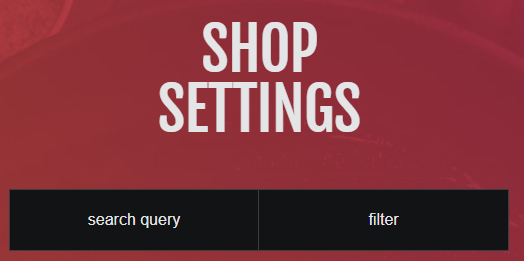
Click the '+' to expand the options
![]()
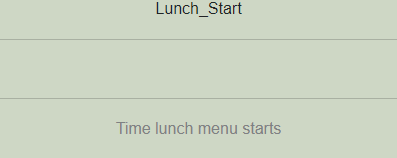
Remove the license from the search query box and type in 'Lunch_Start'
Enter the time the course starts. For example 1200
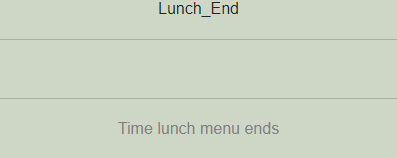
Next enter the time the course ends. For example 1500
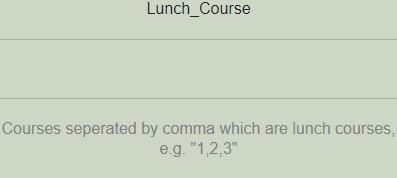
Next enter the course number. For example 3 (Counter the courses on the website)
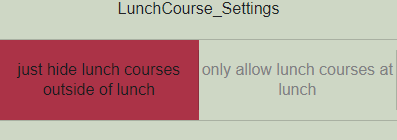
Set LunchCourse_Settings to 'Just hide lunch courses outside of lunch'
Then click 'Save'
![]()
Check the website outside of the lunch course hours it should display an 'i' next to the course that has been hidden