Adding Choices To My Items
For this example I will be adding a Beef Burger to my menu.
The burger will have the options of having:
- Cheese or No Cheese
- Salad or No Salad
and a choice of 1/4 Sauces:
- BBQ Sauce
- Spicy Sauce
- Garlic Mayo
- No Sauce
Lets get started!
Click 'Management'

Click 'Occasional Menu'


Click on a blank box and select 'Stock Item'

After naming your item, click 'details' at the top right. This is where we create our choices.
Option 1 will be "Cheese" or "No Cheese"
As these are additions to the item, they need to be proceeded by a '+'

Next, we do the same for Salad (I recommend changing the the colours per choice by clicking the coloured box):

Last choice is the sauce:

This next step is the most important step.
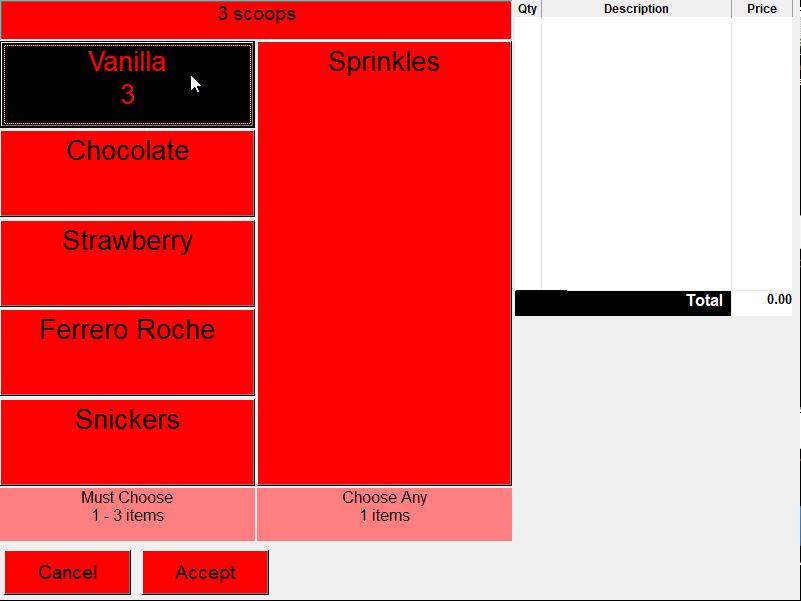
The column labelled 'Q2' tells the system of the order of choices, and how many choices can be selected.
1st Number - Choice
2nd Number - Minimum
3rd Number - Maximum

Look at the sauces for example, the number in 'Q2' is 311. This means this is the 3rd Choice, with a minimum selection of 1, and a maximum selection of 1.
On the right hand side, select 'Choices' to 'As Table'

Click "Finished" and Upload the data to your website when prompted on the main menu.


If you put a capital X after the number (e.g. 312X) it will let you choose multiple items and put a number underneath the. So normally if you press twice on the first press the choice is black and on the second the choice goes back to its normal colour. With hthe X at the end of the line it will stay black but change the number of that item underneath its description.